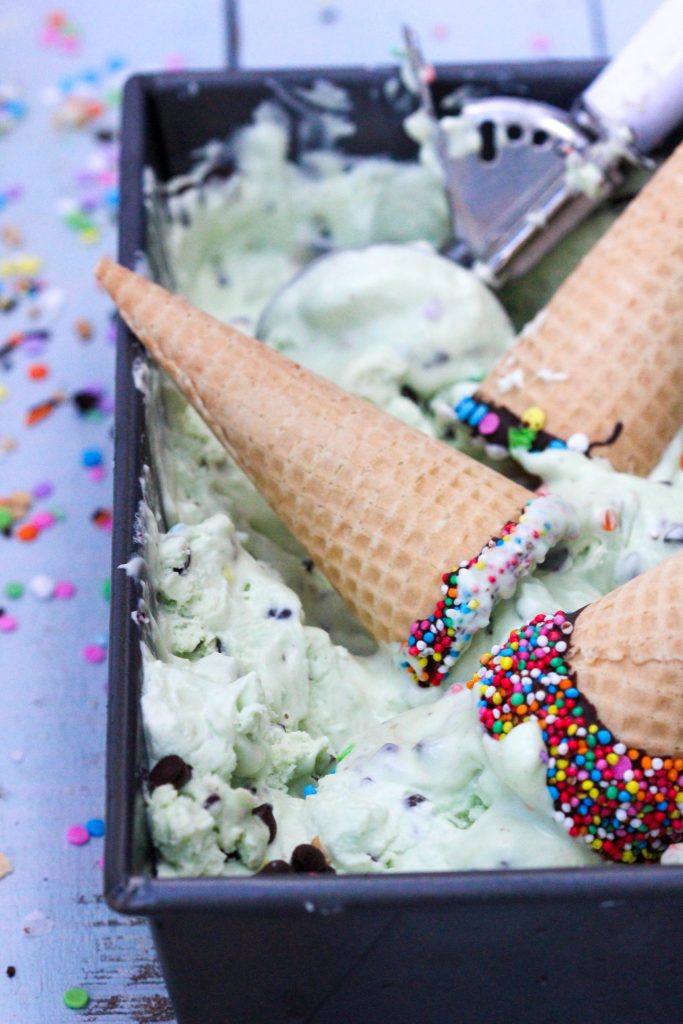
Here’s my homemade, no-churn mint chocolate chip ice cream! It’s full of minty chocolatey creamy goodness……. a combination made in heaven!
Let’s get you ready for summer by bringing a classic mint and chocolate flavor together, that is by all accounts one of the creamiest and totally indulgent ice creams that you’re going to consume. Add in some chocolate dipped waffle cones, and walaah you’re ready for summer!!

The mint chocolate chip flavor is traditional, and very popular here in NZ, essentially, it’s an all-round favorite!
And once you start to lick this flavor bomb, you’ll remember why you love it so much!
You can make this luscious ice cream in only minutes and the bonus here is that no ice cream maker is required! Its effortless and painless and all you need is a beater and 5 ingredients……no sweat!
So, what does no churn really mean? Let’s dig a little deeper as I explain the mysteries around no churn ice cream!
WHAT DOES NO-CHURN MEAN?
A no-churn ice cream basically means there is no need for an ice cream machine. A no-churn ice cream is essentially 2 ingredients – whipping cream and sweetened condensed milk which is folded together to form an ice cream base. From there you add additional ingredients to create different flavors and color combinations. In this case our additional ingredients are peppermint essence, green food color and chocolate chips.

WHAT IS AN ICE CREAM BASE?
An ice cream base is made up of 2 simple ingredients. That means that you have your staple ingredients that never change and that’s your base recipe.
They are:
- 500mls cream
- 1 can sweetened condensed milk
From this ice cream base, you can now add flavor and color combinations to suit your taste buds. There are many combos that you can create and some classic ones too!
For example, if you wanted to create vanilla ice cream you would just add vanilla essence to your ice cream base. That’s it! It’s pretty simple eh!?
TIPS FOR MAKING THE PERFECT MINT CHOCOLATE CHIP ICE CREAM
Before you start making your mint chocolate chip ice cream, I want to share some tips that will ensure you get a creamy and perfect ice cream!
THE CHOCOLATE
For this recipe I used dark chocolate chips. You could also use a bar of chocolate roughly chopped, or chocolate buttons are fine too. And if you didn’t have dark chocolate on hand, milk and white would also be delicious.
THE PEPPERMINT ESSENCE
There are a few more brands on the supermarket shelf than there used to be, however I still gravitate towards good old Hansell’s Peppermint Essence. It has a yummy fresh peppermint flavor and an old classic that you can rely on.
THE COLOR
To get the creamy minty green I used Wiltons Kelly Green. These are a range of gel colors. They are quite potent and go a long way, so you only need a small, teeny tiny amount.
HOW TO MAKE NO-CHURN MINT CHOCOLATE CHIP ICE CREAM
- CHILL THE BOWL – Start by chilling the bowl you intend on using to make the ice cream. I chill mine in the fridge for about 30 minutes.
- PREPARE THE CONTAINER – Prepare your container that the ice cream is going to go into to. This will in turn will be placed in the freezer. For this recipe I used a loaf tin. You could also use a 2 litre plastic container or a 2 litre serving dish or bowl (making sure you have a cover for it, either a beeswax cover or a lid) This will help set the ice cream.
- SLOWLY BEAT YOUR CREAM – In your chilled bowl pour in the cream and begin whipping. Start this process slowly so the cream doesn’t splash up everywhere. Once the cream has thickened crank up the speed on high until soft peaks form.
- SOFT PEAKS – Once soft peaks have formed turn the mixer speed to low and slowly pour in the condensed milk until just combined.
- ADDING THE FLAVOR – Now comes the fun! At this point add in the peppermint essence and food color (I used Wilton’s gel in color Kelly Green) and gently mix the peppermint and food color through the ice cream base until you get the flavor and color you desire.
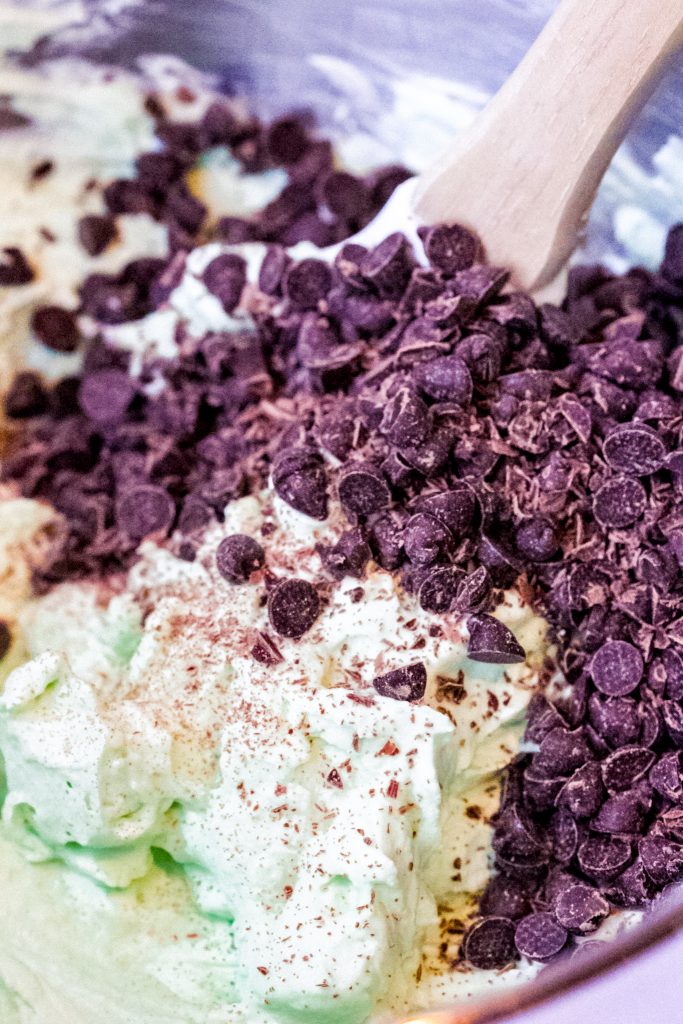
- CHOCOLATE CHIPS – Once it’s all combined, stir in the chocolate chips.
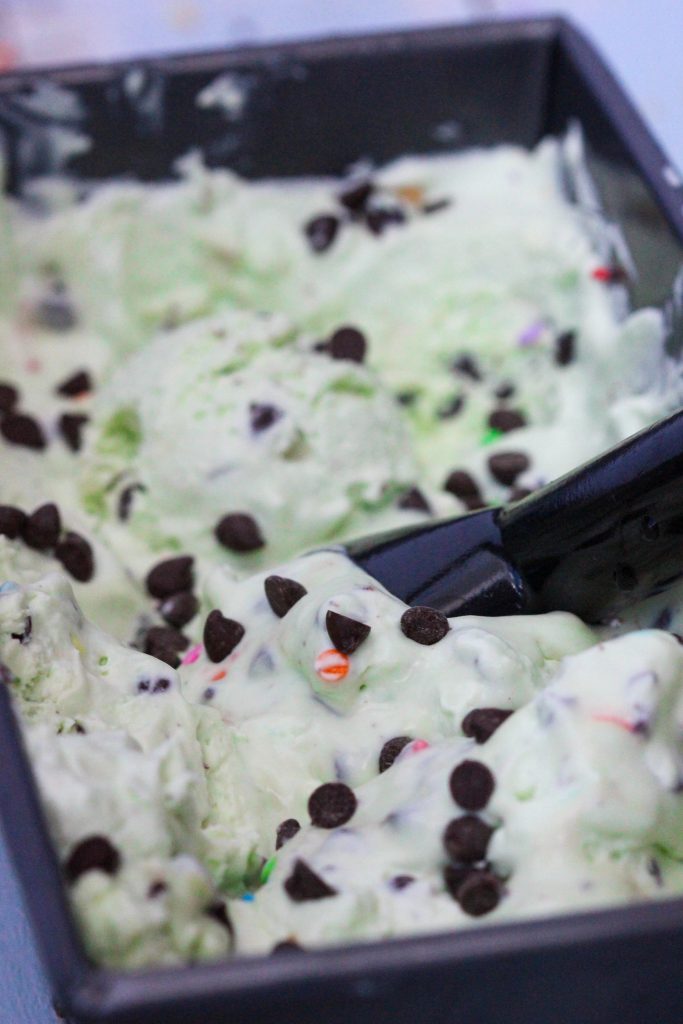
- FINAL STEP – Now the ice cream is created, pour it into your chilled loaf tin, cover and freeze for at least 8 hours, or preferably overnight.
HOW TO SERVE HOMEMADE ICE CREAM
- Firstly, you will need to allow the ice cream to sit at room temperature for 3-5 minutes to soften.
- Use an ice cream scoop to spoon your mint chocolate chip ice cream into bowls, teacups, or in our case onto a chocolate dipped waffle cone – or if you’re a bit cheeky like me, then eat it straight from the container!!
- If you decided to scoop it onto a waffle cone here is my instructions on making chocolate dipped waffle cones.
- Another wonderful idea is to sandwich the ice cream between two rich fudgy double chocolate chunk cookies! Here’s the link to my perfect double chocolate chunk cookies.

Well my lovely friends now you know how easy it is to make no-churn ice cream, go get some cream and condensed milk and go forth and make your very own!
Here’s my book Laying Gods Table . It has many more heavenly ice creamrecipes for you to enjoy! Please click on link to get yourself a copy.
For ideas and tips on how to practice hospitality please read my blog post 5 tips for practicing Christian Hospitality. It will give you ways on how you too can demonstrate God’s love in action.
If you’ve tried this recipe and like it please leave me a comment below. I would love to hear from you! xx